What? You've never heard of the Aluminum Falcon? We did 0.2 parsecs of the Lowell Kinetic Sculpture Race! On zero sleep and with a patched together drive, we arrived at the starting line.

Being at the race is so exhilarating that I was feeling no pain. I didn't know how this was going to go, but I was already basking in the glory. To get the Falcon on and off the rental truck, we had to remove the canopy. We decided to walk the separate pieces to our starting location (at the back, because we were the last team to arrive).

Minions are the support crew (technical and emotional) that follow each sculpture throughout the race. Our minions and I rolled the base in while getting a few curious glances. Then, Andee and more minions "flew" the canopy through the crowd. They had to hold it up over their heads to clear the spectators, so she really did look airborne (spaceborne?).

Our amazing minions! Photo courtesy of Thomas Jokinen

I heard one of the other builders exclaim, "Whoa! That goes on that," pointing to the canopy and then to the base. We drew a crowd as we plopped the skin back on. We basked.

Getting ready for the race. Photo courtesy of Thomas Jokinen

We could only enjoy the moment for that one, single moment. The flurry of registration tasks began. Packets were handed out. The Falcon was inspected for safety. Castro played Star Wars music. Then it was immediately on to the opening ceremonies. 

We took our kinetic pledge after all the speeches and entertainment then lined up across from the Aluminum Falcon. The LKSR has a Lemans style start where the race starts with a foot race, one of the many reasons why this race is so cool.

"Ready. Set. Go!"

Andee and I hot-footed across the street. I climbed in first and set up while Andee ducked under the canopy and settled into her seat. We were ready! I cranked my pedals. Pop!

We broke a chain immediately. My pedals started spinning quickly as the free end of the chain rolled off the sprockets. @#%*! This happened to us several times last year, so at least we knew what to do. It still took us five long minutes to reconnect the chain. It seemed like an eternity, long enough for the entire race to leave us behind.

"Maybe you should skip Bone Shaker Alley," our race marshall cautioned. The cobblestone-lined street was the first obstacle. With our hopes at being competitive well checked, we agreed and climbed back into the Falcon. The minions gave her a helpful push to get the wheels spinning. At that point, we just wanted to get on the road.

The Falcon rolled forward. I began to move my legs very slowly around the bottom crank. The drive was designed to be powered by two pilots, but we were only able to install one side. I lamented the loss of half our power in that moment. It felt like what I imagined flying a 747 on one engine would feel like. On top of that, the joystick began to slip so keeping her centered became an increasingly difficult problem. 

We're off! Photo courtesy of Robby Zambito

When we had agreed that we should skip the cobblestones, we did not take into account that we had to ride down an active street to do that. We led a very slow parade of cars down the street as the traffic light up ahead turned red. The pedals gave way again when we reached the light. I thought we had broken the pedal chain again, but it was worse than that. I looked down and saw the chain was still intact, but the freewheel was spinning freely around its shaft when I pedaled. I knew what that meant.

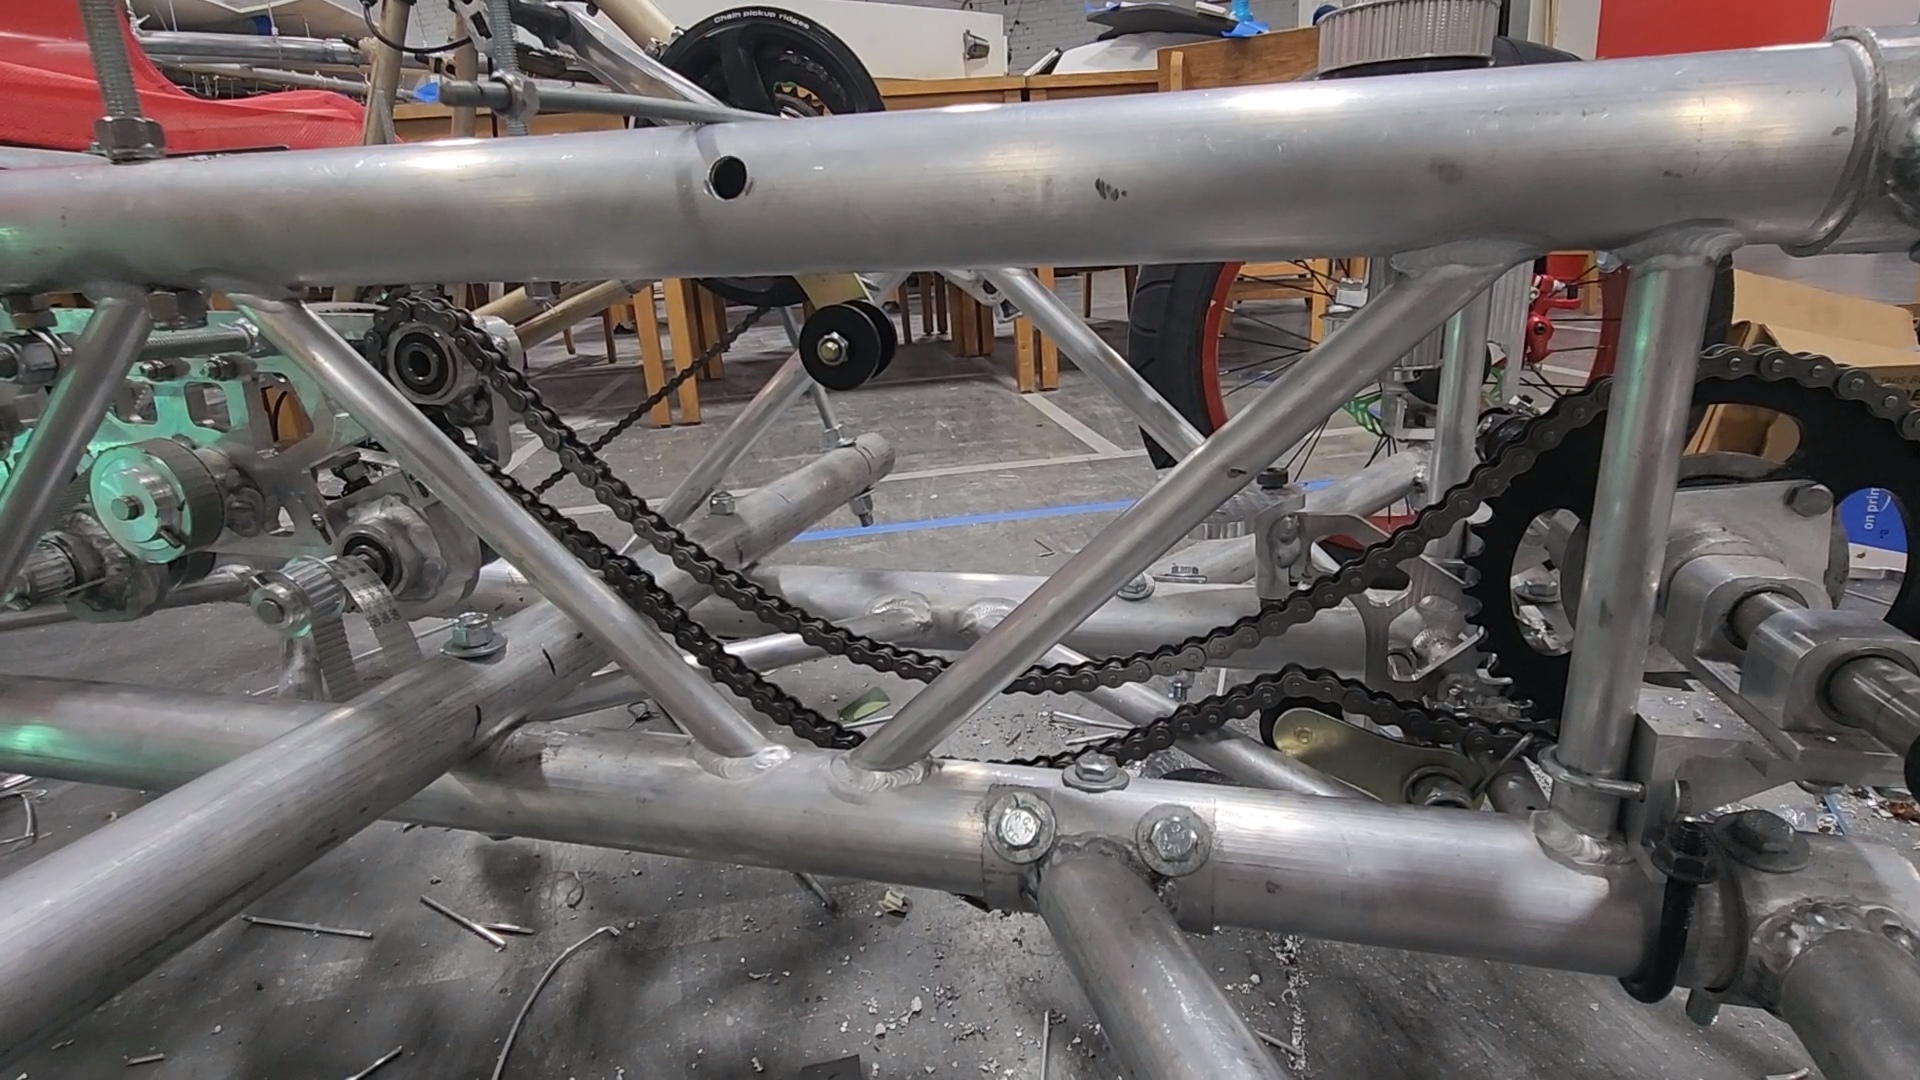
"It's over!" I yelled. "The freewheel broke loose from the driveshaft!"

The freewheel had been locked to the drive shaft with a small square piece of steel called a key. The key fits into slots cut into both the freewheel and shaft, locking the two together. We had sheared this key in half! We could no longer propel ourselves forward and since I hadn't brought spare keys, we could not fix it. Our race was over. If each mile equals 2 parsecs, then we went about .2 parsecs.

We pulled over to let all the motorized traffic go by and confirmed the freewheel failure. Castro played the end music from The Empire Strikes Back. So funny and so true. Hilariously appropriate. We turned the Falcon around. On the way back, the steering rod also broke loose. So that was going to happen had we been able to continue on.

Rolling the Falcon back to the start line. Photo courtesy of Thomas Jokinen

As we licked our wounds back at the pit area, Castro said, "the chain strikes back." Indeed. Thwarted again by bicycle chain. It was hard not to be disappointed, but then I realized where we were our the story. This was just the second act. 

The Aluminum Falcon Experience is just getting started. Stay tuned! 😊

Photo courtesy of Thomas Jokinen


Rudy September 29, 2023
Read more

The end of the build was a rollercoaster of accomplishments, setbacks and workarounds. We finished the canopy, worked out the turning mechanism, and with one day to the race, there was still a lot to do when catastrophe struck.

Steering

All of my literal machinations over steering mostly failed, unless we made no left turns. I tried out what's basically go-kart steering. It's a long rod that is bent at the end so an arm sweeps back and forth, turning the front wheels. But this would only work if I could secure the other end of the steering rod.

I tried capturing the rod with eye bolts but that reduced the travel of the control arm too much. I then tried making a bracket, instead of using eye bolts. That worked better but i could only get it to steer straight or to the right. That wouldn't work. There are definitely left turns in the race, like right at the beginning.

After several hours of trying, I realized that I needed to pin the other end of the steering rod to get the leverage we needed. We used a universal joint to make the end of the steering column rotate at an angle, bolted the new end to the frame and added a slotted swing arm that linked back to the tie rods. I've never machined so many parts in so short a time.

The last steering issue was the location of the steering wheel. A normal sized wheel got in the way of my knees when pedaling, so we went with a joystick fashioned out of some leftover aluminum bar. 

Propulsion 

Hooking the pedals up to the Hyperdrive proved to be very difficult. I discovered that the tolerances of Chinese parts are wide and varied and it's a crap shoot as to what you get. For example, the freewheel was locked to a shaft that was supposed to sit on 1/2 inch bearings but the diameters varied wildly from shaft to shaft. Usually, the shaft will be exactly the stated diameter or just under (+.000, -.005 inches). But the shafts we got went from .003 over to as much as .007 under. It doesn't sound like much, but a .503 diameter shaft will never fit in a .500 hole and a .493 diameter will rattle around. We ordered shafts three different times before we had enough at the right size and even then, we still somehow ended up one short. 

The freewheel shaft attaches to the Hyperdrive with a pair of universal joints. I bought joints that were advertised as 1/2 inch, but they turned out to be 12mm or .027 inches smaller than we expected. We didn't have time to order new ones. Instead, we had to widen all the holes in the joints. The material was too hard for drilling, so we had to use an end mill to cut through it. All this took time that we didn't have.

Brakes

While I was dealing with mating American and Chinese parts, team members worked on running and installing the brake lines. I made the brake handle to look like the hyperspace jump lever.  Then I made a little bracket to insert the other ends of the brake lines (in front of the handle). 

Lowell Makes' Bike Shop Technical Advisor, Steve, swooped in like a superhero and finished the job! He not only hooked up the brakes, but he also ran the derailleur lines on the co-pilot side including ingeniously using a bike rear deflector bracket as a cable stop.

Flotation

Let's not forget this beast also needs to float! We were gifted a giant block of foam from one of the other builders. The block floated in from the harbor and beached itself along a bike trail. He came across it while hiking and snagged it for us. Thanks, Matt! 

Before we could figure out how much foam to use, we needed to weigh the Falcon. After confirming online that this would work, I put a scale under each wheel. Without the canopy, the empty weight of the Falcon was 180 lbs! One of my primary goals was make it as light as possible. Of course, then you have to add in the pilots and the canopy, making the traveling weight closer to 500lbs.

We needed two big pontoons on either side of the rear, primarily to support the riders and the canopy. We also added a large front float that was sized to support the heavier front with enough extra on top to float the entire payload.

These smaller blocks had to be carved from the giant block. We were going to set up a hot wire saw, but I couldn't get that together. Andee tried pulling cold wire through the foam like a lumberjack. It was a lot of work for not a lot of payoff, so she switched to the handsaw. That was also a slog. Then I remembered that we owned an electric chainsaw. Things went more quickly after that.

We mounted the side pontoons on 3/4 inch threaded rods that stuck out from the side.We used ratcheting straps to secure the front float.


I Have a Bad Feeling About This

After finally getting the driver's side pedals connected, we tested the road gear. It worked great on a clean, flat surface. But any obstacle--like a loose bolt on the floor (smh)-- caused the belt to slip! Thinking it was a tension issue, I tightened the belt as far as it would go. This seemed to work, but the belt would still skip in one spot for some reason. 

That reason was I had tightened the belt so much that I deformed the steel wire in a section of the belt. I loosened the belt hoping everything would settle back down. The surface returned to its original shape but the steel wire just oozed out of the belt like toothpaste.

The belt was blown, and for some reason I didn't have a spare (yea, I forgot to order spares). Now, we had a big problem. Unless we reconnected the wheels to the driveshaft, we weren't racing anywhere. And we could only do it with the parts we had on hand. It was a very MacGuyver moment.

The front and rear wheels use motorcycle chain to connect to the Hyperdrive, so we had plenty of chain. If we moved the rear-wheel drive sprocket to the main drive shaft, sacrificing our all wheel drive, we could then use the big chain to connect the drive shaft to the front wheels, but we still had to route that chain around the guts of the Hyperdrive. We still had two tensioners/idlers (also intended for the rear) that could be used in the re-route. 

At 11pm on race eve, a plan was formed to save the Falcon! I then spent the next 4 hours trying to implement this new plan. It took a while to figure out a chain path that didn't run into something. 

I did find a path, but the position of the newly placed rear idler kept slipping under any load. I eventually just put a bolt through it to keep it aligned. Finally, the drive bypass was ready.

Time to go

All these issues ate up what time we had left. After all that effort, Andee's side of the sculpture was still a passenger seat. That last freewheel shaft was too large to sit in its bearings. The universal joints were too small. We tried to put it all together at 9am, but we were already late for race check-in. Regretfully, we stopped work. That was quickly replaced with joy as we loaded out and headed for the start line. We were on our way!


Rudy September 20, 2023
Read more

We've been working hard on the canopy. I finished building the wireframe that supports the cockpit and the rear underside of the Falcon. Andee and Kreg have diligently wrapped the remaining gaps in foam and added lots and lots of details. 

They raided Castro's 3d print reject bin to source all the techy looking bits, including some Star Wars pieces. See if you can spot where part of Rey's staff is located.

Once all the bits were on, she was ready for paint! Andee and Kreg tried out our new paint sprayer.

Another coat and some spray paint highlights will finish the job! Getting closer.

Rudy September 15, 2023
Read more

Pedals are mounted. Freewheels have been coupled to the Hyperdrive. Chains are connected. The Falcon can finally travel without being pushed. Huzzah! 

It took some effort to get this far. After basking in the afterglow of mounting all the wheels, I got to work attaching the frames for the pedals. We are going to pedal recumbently but we are using regular mountain bike frames. I mounted them at an angle like they are "popping wheelies," so that the pedals can be cranked from a seated position. The freewheels they turn are located under the drivers' seats and line up with the input shaft of the Hyperdrive.

The bike frames had to be secured to the truss but the support structure also had to clear the path of the pedals. At first I thought I'd have to weld some tubing together at eccentric angles and drill holes in the bike frame to attach, but after staring at it for a while an easier solution presented itself that didn't require any welding or virtual development. Who needs Fusion 360 to engineer parts? I do, but in this case I was able to make all the modifications IRL.

I bolted a single aluminum tube with 1/4 inch thick walls across the truss, much like the support tubes for the seats. Then, I bolted 1/2 inch threaded rod between the support tube and the kickstand bracket(!) on the bike frame. Only one of the frames had a kickstand bracket, so I used fender washers as a makeshift bracket for the other one.

Not only was welding not necessary, but the height of the pedals are now adjustable. The rear forks were secured to the front seat support tube using hose clamps.

I then mounted all the bike hardware onto the bike frames. This was the easiest way to see what was missing and what needed to be replaced.  The pedals rubbed up against one of the bike frames, so we had to get a slightly wider bottom crank. We also needed a different front derailleur and a new set of gear shifters.

Alternative Freewheel Support

Normally, the rear hub of a bicycle spins independently of the axle bolt that attaches the wheel to the bike. However, the Falcon needs the freewheels to do the opposite, to actually turn the axles. They make adapters that do this, but a spinning axle meant we had to mount bearings somewhere to support them. And the bearings also needed to be close enough to the freewheels' original location so that we could still run bike chain from the hub and derailleur to the pedals. To accomplish this I had to design a new part that sits the the elbow of the rear fork. 

I designed it so it can be bolted to the rear forks using the original hub location's bracket holes. Before making this part in metal, I 3D printed it in plastic. Good thing, too, because the initial design fit on one bike frame but not the other. I figured out that I could make it work by stretching the mounting hole into a slot (see image above).

Once I updated the part virtually, I made the brackets on the Tormach CNC mill.


I then bolted the brackets onto their new locations on the bike frames and mounted the driver's side gear shifters, derailleurs, freewheel and chain. We'll do the passenger side after we've done some road tests.

The new location of the freewheel works great! The only issue is we can't go down to its smallest gear or the chain rubs against the bolt securing the bracket. I just set the limits on rear derailleur to avoid that gear.

Universal joints compensate for any misalignment between the freewheel shafts and the Hyperdrive input shaft. Of course, I could not find joints with 1/2" holes. I bought 12mm bore joints and drilled them out for the slightly larger 1/2 inch shafts on the Hyperdrive. 

Drive Sprockets

The sprockets on the Hyperdrive were another small headache to install. Apparently, the sprocket sizes we need are not made with 1/2 inch mounting holes. I can get them in 3/4, 1 inch, inch and a half, but not 1/2 inch. After finally accepting this, I bought weld-on sprockets. 

This type of sprocket lets me mix and match different hubs with different sprocket bodies. The only downside is that the hubs are solid steel and quite heavy.  I bought the sprockets and 1/2 inch hubs and welded them together.

Then I mounted the front sprocket on the Hyperdrive and layed out the chain connecting the front wheels. The tensioners both tighten up the chain path and redirect the chains around obstacles.


I tested the mud gear once everything was together. This mode has larger forces going through it than the road gear, so it is a better test. The last belt on the Hyperdrive started slipping because it was under tensioned.

I worried for a brief moment. "Oh nooo. Wait. Okay." The belt is on a slider, secured by 4 screws through a slot. It was maxed out. I thought I couldn't stretch it more, but then realized I could just take the bottom to screws out to get the tension I needed.

With that problem solved, I ran into the next issue. The pulleys and sprocket on the front sprocket axle slipped under load. They had only been secured with set screws, so I expected this might happen. But I hoped it wouldn't.

To fix this, I took apart the front of the Hyperdrive to get the shaft out. I then drilled divots into it for the pulleys and milled a slot in the shaft for a keyway. The sprocket has a corresponding key way. Dropping a square bit of steel, the key, into the slot and then sliding the sprocket over it locked them together.


I put the Hyperdrive back together and tried the pedals a third time.

It's working pretty well. As soon as I hit an obstacle, other pulleys started to slip, so I added divots to the other six shafts on the Hyperdrive.

We still have to mount the rear drive sprocket and chain, work out the rest of the steering mechanism, make a brake lever, run the brake lines to the lever, add flotation and turn the front wheels into paddlewheels. No sweat (i.e., multiple long days of sweat).

Time is ever ticking, but we continue to move forward. You see what I did there?

Rudy September 13, 2023
Read more

While feverishly working on mechanics, we've also been working on the Falcon canopy. Andee has been channeling her inner cosplayer, spearheading the construction and application of the foam panel sections to the aluminum frame.

I created mechanical drawings using the scaled-up 3D printable model that we found on the internet. Andee printed them and cut them out to use as patterns for the foam pieces

The drawings aren't perfect, but they're good enough to figure out how big everything should be and where to place it.

I spent many hours trying to weld tiny pieces of wire to the canopy without destroying the wire. Since I am using welding filler wire that is designed to melt completely, this was too difficult and I was too inconsistent. Instead of welding, I decided to wrap the wire around the frame tubing like metal twist ties. 

Things went more smoothly after that. The aluminum wire is soft enough to bend without breaking (mostly) and the wrapped joints stiffen the cage better than I expected.

To make putting the skin on the canopy a little easier, I worked out how the canopy mounts onto the Falcon. This way, the canopy can be worked on in place.   I also added the wireframe for the front mandibles. Working in place has already revealed that part of the lower section of the mandibles interferes with pedalling when in a turn, so we'll need to cut that back a little to compensate.

Andee and the Skin Team ™️ have been shaping the foam panels and adding details to the surface.


Step by step. Inch by inch. We get ever closer.
Rudy September 11, 2023
Read more