Over the last two weeks, I've made progress fabricating parts for the new front end suspension. Most of the thickest parts are done. Those take the longest to make on the Tormach. For example, each front bracket took 7 hours to machine from a solid block. 

After making the second front bracket, I checked its fit and discovered that the far side of the large hole was milled slightly smaller than the near side. This happened because I had to use an extra long end mill to reach everything. 

The free end of the tool flexes from the cutting force created. The longer the end mill, the more the end deflects. I had to slow down the travel speed considerably to minimize the forces acting on the end mill, but that did not remove the flex entirely. To fix it, I flipped the part over and widened the hole from the other side using a shorter end mill.

After the second front bracket was finished, I made one of two rear hanger brackets. It's shaped like a saddle instead of a circle so we can mount it further in on the truss.


The final test fit for the brackets was great. I haven't drilled mounting holes into the brackets yet. That will happen when we're ready to install the new front suspension.


We've Got Arms

While the Tormach sculpted away, I continued welding together the suspension arms that attach the wheels to the central truss. I used steel instead of aluminum for increased strength, but mostly because I had access to free steel and virgin aluminum is expensive. My welds are still ugly, but I think I've gotten 5% better. 😎 Out of 8 arms, I only destroyed, and had to remake, one arm. 


After welding the arms together, I re-machined the inside diameter of each tube to remove deformations caused during welding. This will make sure that bearings will fit into the legs.


With the two front brackets, one rear bracket, eight arms, and the two bearing plates fabricated, the front suspension build is over 33% complete. For the Glory!


Rudy May 21, 2025
Read more

The rear cassettes on a bike traditionally spin a tire around a stationary axle. The wheel spins, but the bolt doesn't. To drive the Falcon, the cassette and axle must spin together. We needed a new way to secure the cassette/axle to the bike frame.

My last attempt did not shift very well, was very difficult to align and ugly, so so ugly. Because I used u-bolts to secure it, that required the plate to be very large. 

This time, my idea is to use the outline of the bike frame's rear fork to keep the bracket oriented correctly and locked it into place with a single bolt through the fork's mounting slot. I traced the outline of the rear forks onto graph paper and scanned the traces.


I pulled the scan into Fusion 360, scaled it up to match the size of the graph paper grid, and used that to model the basic bracket in 3D. 

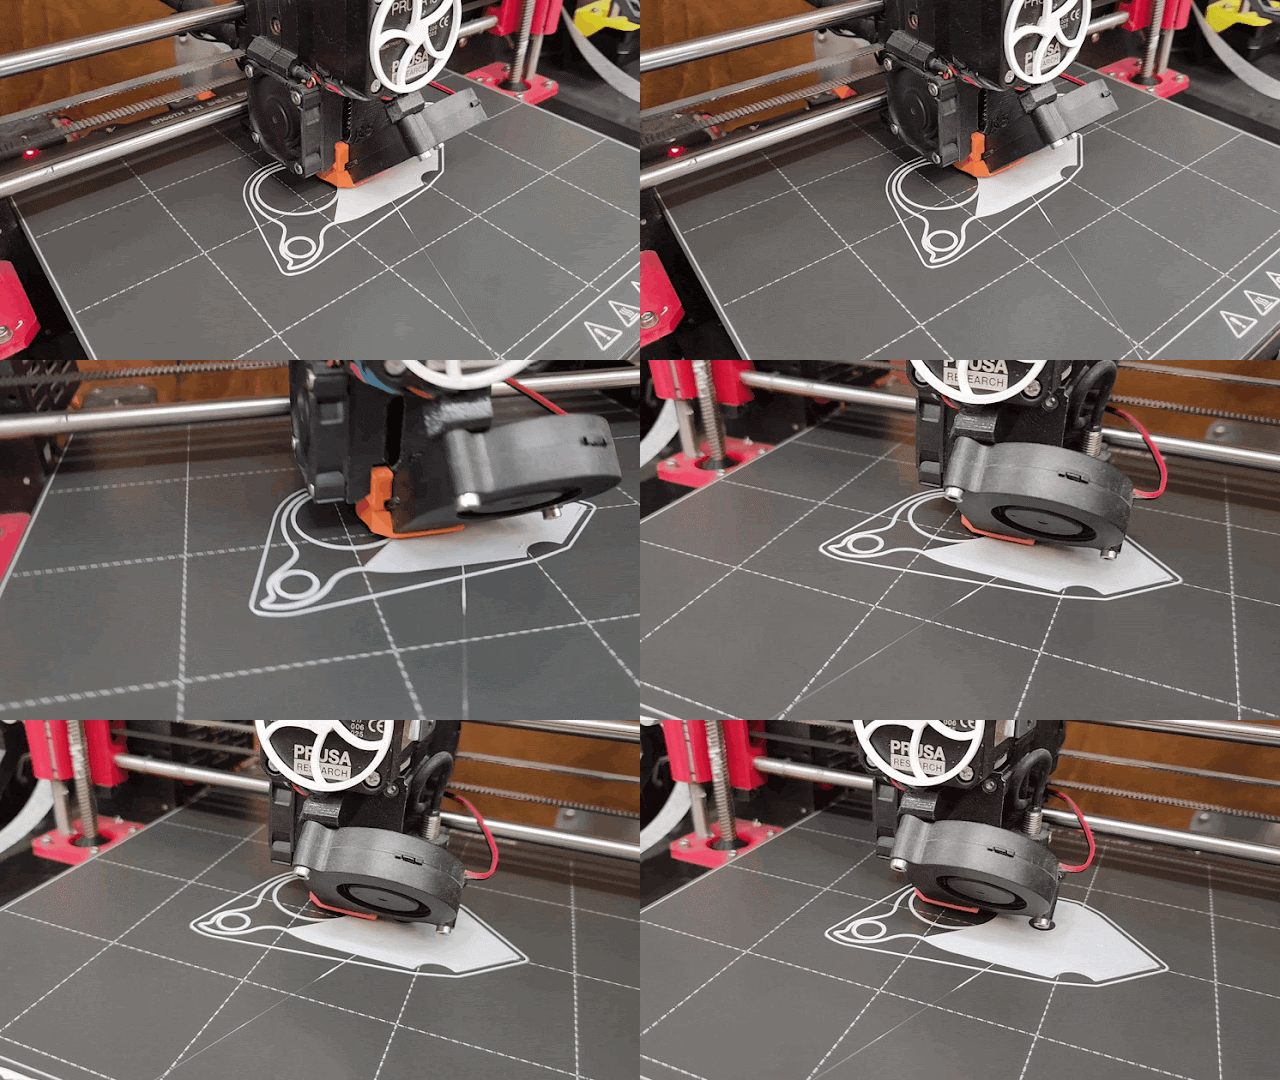
I decided I should test the fit of the bracket before making it in metal. Printing the model in plastic first saves me some money and a lot of time, especially if it takes multiple iterations to finalize the part.


After I finalized the fit of the bracket on the rear fork, I had to figure out where to hang the rear derailleur. It took a few tries to get it in the correct spot. For the first try (blue in the image below), I put the mounting hole where it would go if I wasn't using a giant low gear (52T). I am, so it had to be lower than that.

The second try (black in the image below) was technically correct, but the derailleur was lower than I wanted, especially for the mud. I had also added the profile of a derailleur hanger but I placed it on the bracket backwards. 

For the third iteration (white in the image below), I swung the mounting tab forward 90 degrees and flipped the tab stop to point counter-clockwise. I also flipped the bracket front-to-back to get  the derailleur a little closer to the sprockets.


Everything went together surprisingly easy.


Though the test assembly is working nicely, the bracket still needs one more modification. The derailleur rotates forward too much when shifting, so I need to rotate the stop on the bracket 60 degrees counter-clockwise.


The co-pilot's bike frame is different than the pilot's, so I need to modify the bracket to fit the outline of those forks. After that, the brackets can be made in aluminum. However, if they hold up during tests, I may just leave them in plastic.
Rudy May 12, 2025
Read more