I also tried out the tube notcher I bought.
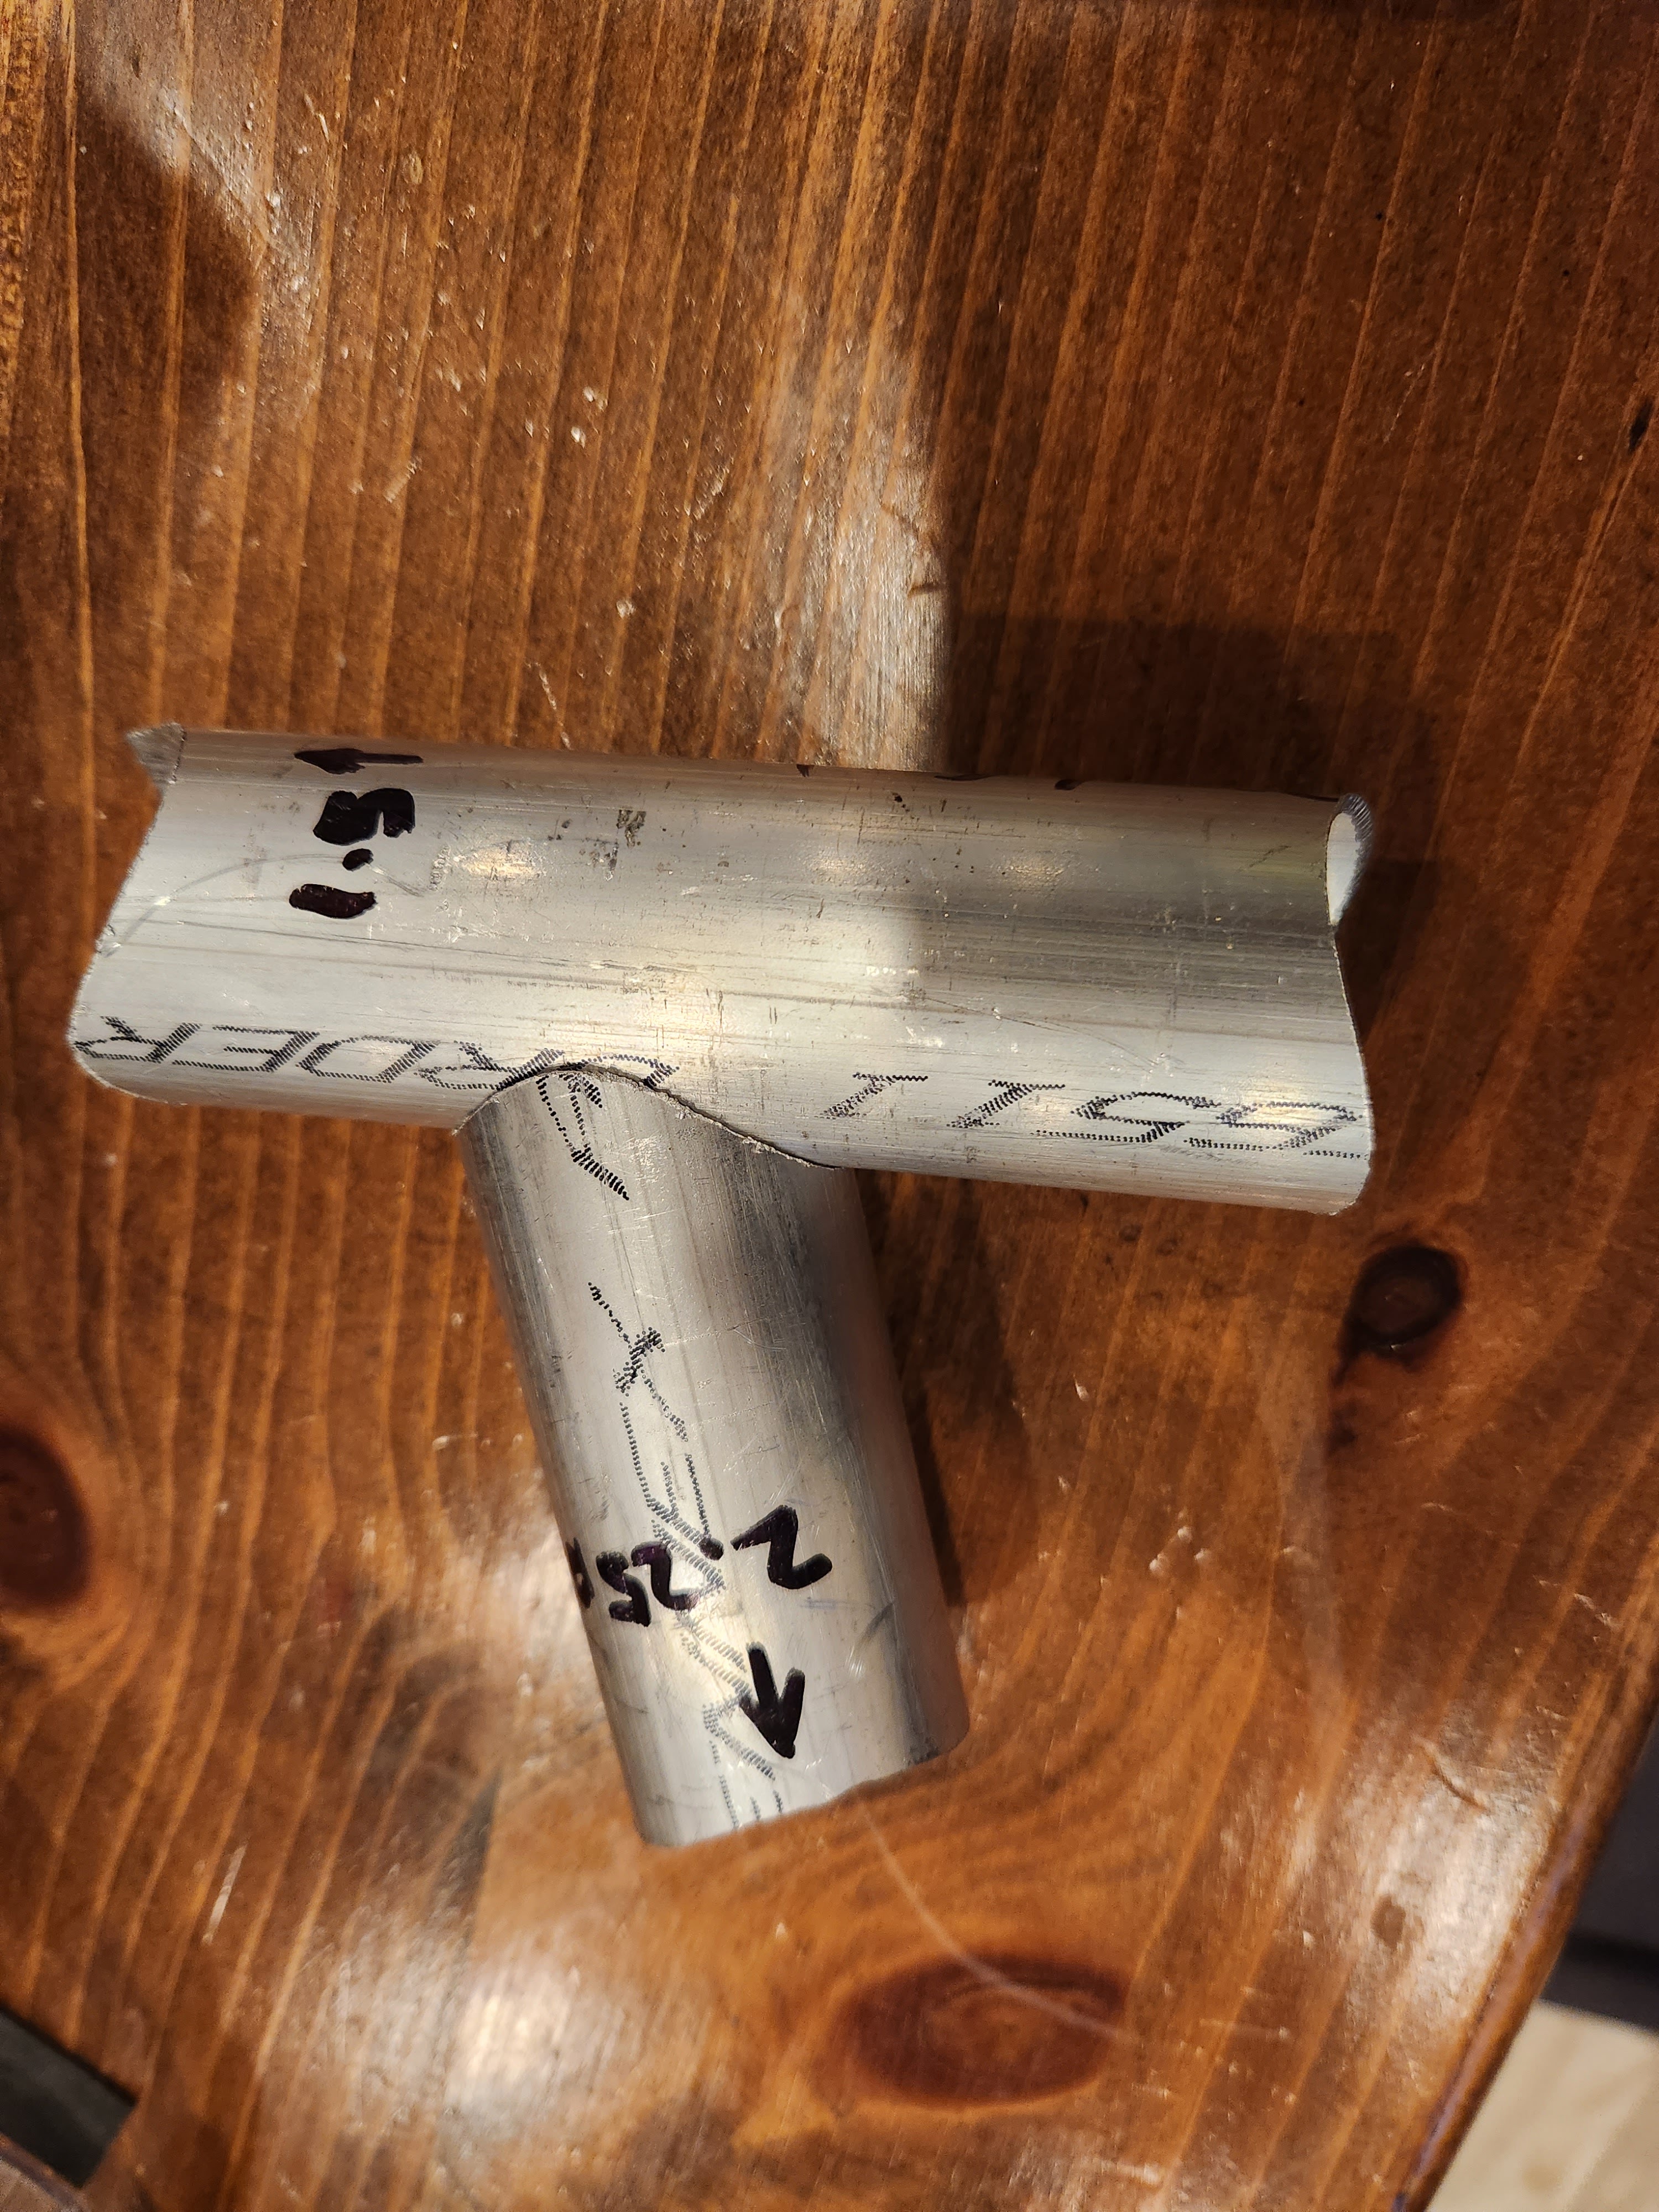

It produces a nice, tight fit up without having to shape the profile with a grinder. This would've been so useful on Big Fish.
March 11, 2023
Read more


I also tried out the tube notcher I bought.
It produces a nice, tight fit up without having to shape the profile with a grinder. This would've been so useful on Big Fish.

I gave our team machinist some 1/4in flat bar yesterday! He's working on the clamp plates for the rear supports.

I made one of the tubes for the supports in my basement as a proof-of-method.


Using the profile cutout worked well. But it will definitely be easier to make using the bandsaw at Lowell Makes.

I completed the machine drawings for the 3 pieces that make up the rear support brackets!

I've seen a lot of videos where the welder draws a circumference profile on paper and then wraps the paper around a tube and traces the profile with a sharpie. Then just grinds down to the mark.
I did the same thing virtually by converting my tube shape in Fusion360 into a sheet metal flange and unfolding it into a cut out then laying out the shape in the drawing at 1:1 scale. Now when the machine drawing is printed, we can: cut out the profile, wrap it around the tube to be cut and trace the desired profile onto the tube with a sharpie. Hopefully, it will make creating the bracket tubes a bit easier.

It's still just a pile of material, but it's starting to feel real. I picked up the raw materials for the base. I bought extra, so I can practice and in case I mess something up.


After almost 6 months of obsessing over this design, I think it's mostly ready for construction. There are a few phantom parts that had to be worked out. For example, I realized that I could extend plates from the differential supports to also support the steering plate and attach idler and tensioner sprockets for the front drive chain.

I also need a way to tension the "road" belt. I came up with a tension block that would mount to existing points on the drive train frame. There is still some cleanup to be done before I can address those two requirements. And I still need to find a place to mount a tensioner for the rear drive chain.
But I've started creating to-do lists to capture all the tasks needed to build the base. This weekend, I want to begin making machine drawings for parts. Then, I will be reaching out to folks who expressed interest in fabrication and assembly.

The tires I want to use are 20" fat tires. I also have 16" rear tires from a lawnmower, but they don't have brake mounts. Weight is one of my biggest concerns. The fat tires are about 18lbs each. The lawnmower wheels weigh 5lbs more each.
The CV joints that I got have 21 splines. I can't find axle hubs that fit. Everything I found uses 23 or more splines. And the axle hubs would add more weight. Ideally, I'd like to mount the wheel/brake directly to the CV shaft, if I can.
I removed the axle bolt from one of the 20in Fat tires to see how it's constructed.

It looks solid. The center hole is 12mm and the inside of the flange is 25mm. If I turned down the spline on the CV axles, the diameter of the CV axle would be around 20mm. I think the 12mm hole could be widened to 20mm.
I'm waiting on an aluminum front wheel hub that I want to study. It would be great if I could modify an existing hub to fit on the CV shaft. Maybe I could turn a custom wheel hub for the fat tires on the lathe?
.png)
I've reimagined the front axle hub, keeping our machine shop captain's advice to run the axle directly into the hub of the front tire. Instead of one, solid machined piece, the bracket is now 5 plates welded together. The bearing that supports the CV would be pressed into the outer plate. The outer plate includes mounting holes for brake calipers. An eye bolt is positioned at the necessary pivot point.
.png)
The bracket would sit on head bearings (from bicycle necks) and secured to the wheel frame.
.png)
I added rabbits to the mating parts so that everything self-aligns when it's clamped together for welding. Here it is with the tire on:
.png)
Mounting the tire hub still needs more research. I need to see if the hub has enough material to cut splines into, which would mate to the CV joint's spline shaft.
If all that can work, it'll still need a long bolt to clamp everything together. That would need to be turned on the lathe.

We DID NOT! And incidentally, there was a lot of trying. Our sequel had a lot of the same themes from the year before, but it wasn't q...

