The front wheels are finally on the bus! We can't propel ourselves forward yet, but the Falcon is finally off the floor and on all of her tires.
Figuring out how mount the front wheels took a while, but once we did, it then took another while to modify the standard bicycle wheel hubs to attach the non-standard CV axles. We bought new hubs to facilitate adding brake discs and keep the required measurements the same for both wheels (they originally had a front and a wider rear hub). We had to make sleeves for aligning the hubs to the axles and stainless steel bolts to secure them.
I tried to create a super-tight fit between the sleeves and the CV axles by reducing the inside diameter of the sleeves by .02 inches. Usually, the interference is more like .002, so getting these on cold (at room temperature) would be impossible. The plan was to heat the aluminum spacers to expand them and drop them onto the CV axles. Then they would tighten around the axles as they cooled.
This did not work.
I heated the first spacer so much that it melted. I did not melt the second one, but it went on so cockeyed that I had to cut the sleeve off.
I had to make new sleeves and since we had to make new ones anyway, I changed the inside diameter to be .006" smaller than the CV axle. I remade the parts on the Tormach (I love the Tormach).
The inside of the sleeves were now large enough that I did not need to heat them at all. I was able to press them on using the machine shop's 20-ton press. The last step was to add holes to the entire hub assembly for clevis pins.
The pins lock the hubs to the CV axles and prevent the stainless steel bolts from backing out. We don't want the front wheels falling off the Falcon, now do we?
Drilling through the hardened steel of the CV axles and stainless steel bolts proved to be very difficult. After destroying an end mill and 3 drill bits, I managed to drill the holes we needed to move forward.
Once we were finally done modifying the hubs, it was time to rebuild the front wheels. I already rebuilt the rear wheel and that experience definitely helped with the front wheels. There are more spokes on the front wheels than the rear, so the spoke lacing pattern is slightly different. But lacing the rear wheel taught me that I need to take a lot of pictures of the wheel before I take the spokes off. Using those reference images, it didn't take too long to put the wheels back together.
We still had to true the rims up but since they have to spin freely, so we couldn't just mount them on the CV axle. Fortunately, I saved the bearings, cups, and axle bolts that came with the hubs. I put them back on the hubs and reattached the original axle bolts, essentially turning them back into bicycle wheels.
Then I was able to use the truing stand at Lowell Makes to align the wheels.
Mounting the wheels on the Falcon was the last step. Lining up the holes and installing the clevis pins took some effort (and a hammer), but it was easy in comparison to some of the other issues we've dealt with.
Now, we just need to add the whole pedal mechanism to power this beast.
The Canopy
We've made progress on the canopy frame since we made the 80" ring. This frame isn't supporting any significant weight, so I actually TIG welded the frame together!
Some segments are better than others, but the main frame is together.
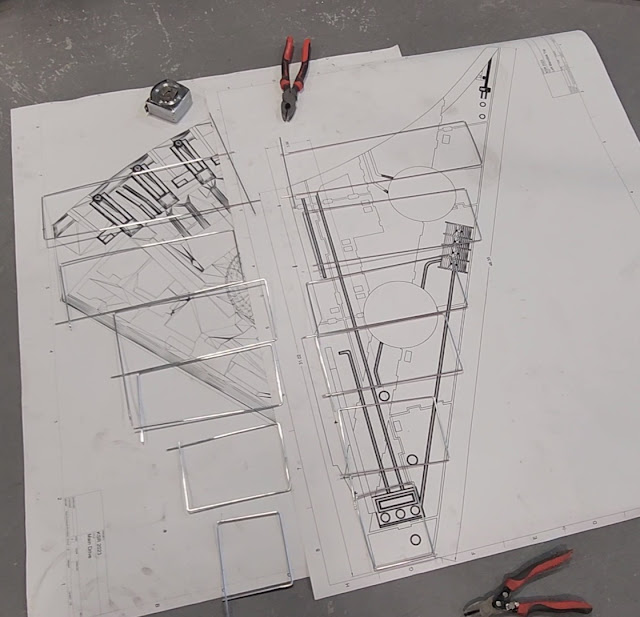
Now we're working on making the cage that supports the foam panels that will give the Falcon its look.
We started printing the scaled up sections of the falcon. We're using these drawings to lay out the cage and will also use them as patterns for cutting out the foam pieces.
 |
| Cross-section pieces for the mandibles |
Minion Tie Fighters
Minions are our crew of bike riders that follow the sculpture during the race. We are decorating the handlebars of their bikes to look like Tie fighters. Hopefully, it'll look like a bunch of fighters chasing the Falcon.
We consulted with the captain of Lowell Makes' Cosplay shop, Castro. He's got a lot of experience making movie/toon props and costumes out of all sorts of material.
He gave us a tutorial on how to build the fighters. Andee has been busy building the prototype out of 1/2 inch thick foam.


.jpg)


No comments: